
-
 First Lesson
7/31/2010 was my first lesson. This is when i embarked on my new found love and hobby. I began to fly regularly after that first flight. I have found a new passion that was a childhood passion of mine!
-
 Solo Time
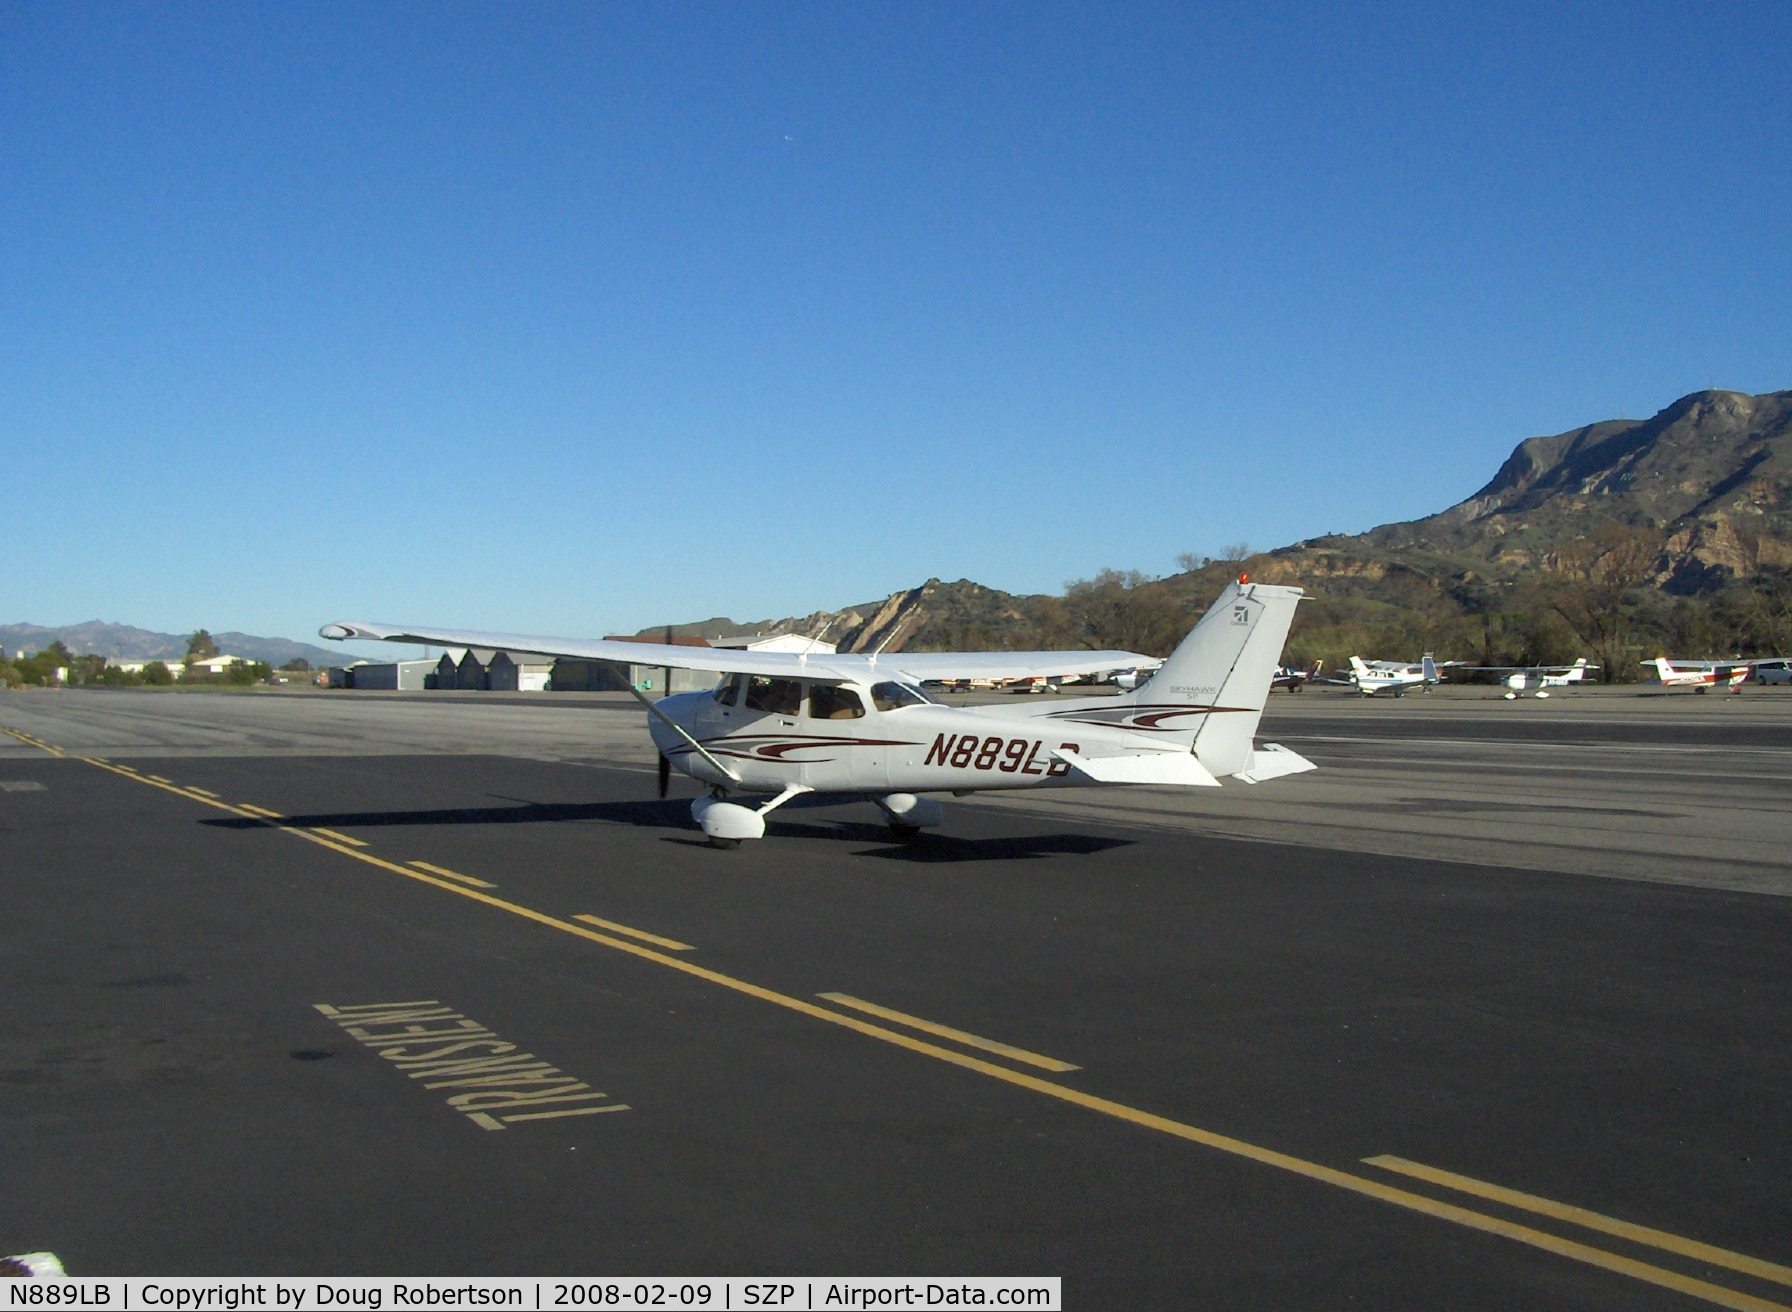
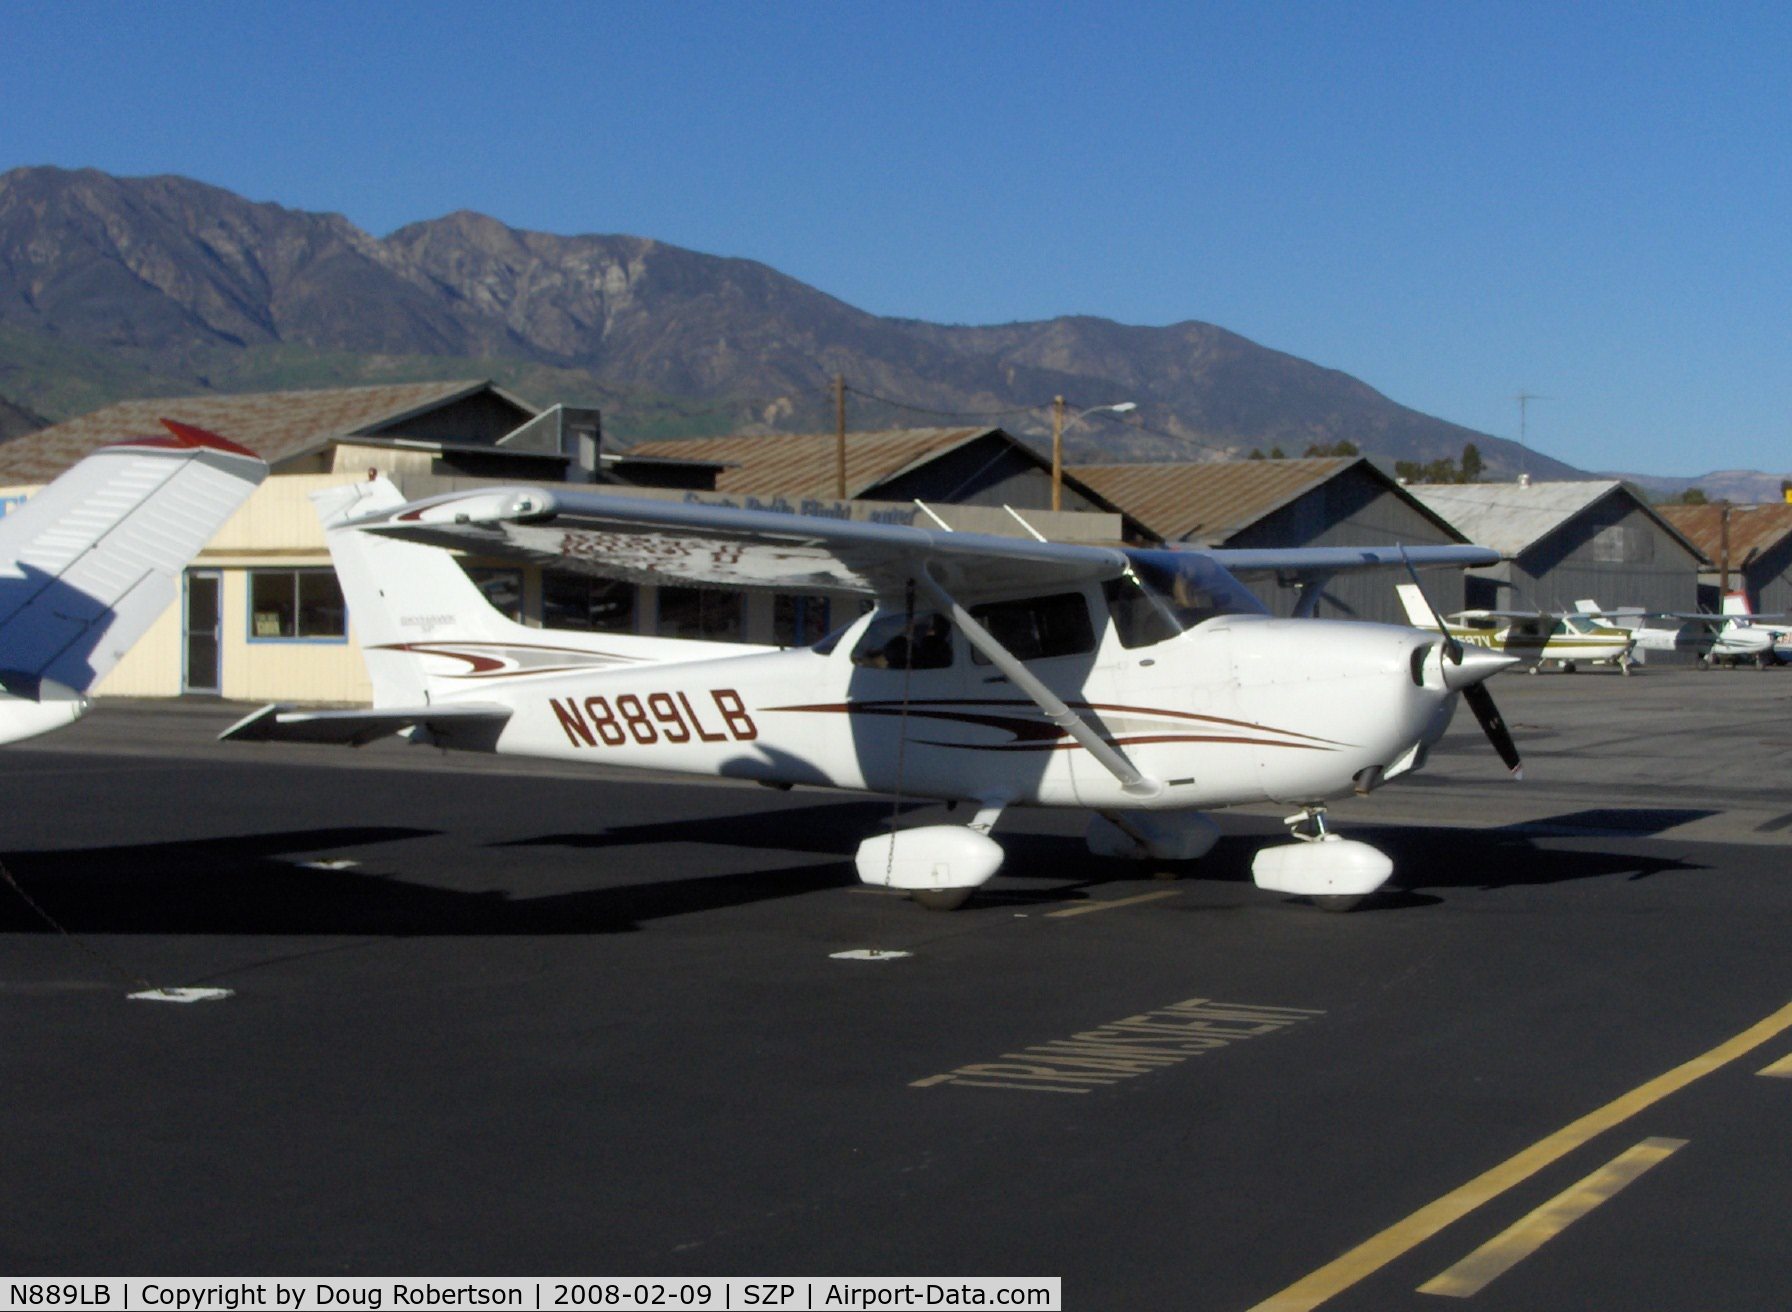
July 4th 2011 was my first solo. I flew at Oxnard Airport. All three landings were awesome, and increased my confidence more than i could ever explain. The first solo will stick with me for the rest of my life!!! It was a turning point in my hobby!
-
 Still Learning, Striving, and Flying
It has been a long journey, and an expensive on as well. But i stuck to it and keep flying as i am now so fascinated by it. I strive to learn more, and now i understand a pilots license is a license to learn!
Saturday, August 6, 2011
Landing Tips
There are many techniques published on how to make better landings. Some techniques will actually conflict with other techniques. The debate, as you can well imagine, can be very heated. The reality is, there is no single correct technique that works for everyone. Who cares what your technique is as long as you can land the plane gently and safely every time. If you have a technique that works for you then stick with it. If your technique does not yield consistently smooth landings then continue reading.
Below is simply my technique for landing a Cessna 172. If you are struggling with your landings and you are training in a small aircraft, such as a Cessna 172, try thinking of the landing in 3 phases and at no time should you force a bad approach, round-out or flare to the conclusion of a landing. Try thinking of all approaches to a landing as really a go-around interrupted by a landing. This mentality will have you focused on going around if the landing does not feel or look right. Do not get so focused on landing a plane at the expense of bending metal.
PHASE ONE:
The approach is the first phase of a landing. Every good landing starts with a good approach. Try to stabilize the aircraft's approach so you do not have to make a lot of corrections close to the runway. This means make sure your airspeed is 1.3 times the stall speed (in a C-172 the speed is approximately 61 knots. Slightly increased depending on the wind conditions. I usually come in this face between 65-70) Your horizontal ground track, which is controlled by your ailerons, should take you over the runway centerline. The nose of your plane should be aimed straight down the runway and any yaw left or right should be promptly but smoothly controlled with rudder. Make sure all these are set ASAP after rolling out on final and adjust them promptly yet smoothly when anything changes. Also, determine the proper amount of power necessary for glide slope control as soon as you turn onto final. In a normal landing, your power should be set to approximately 1,500 RPM in a Cessna 172 with full flaps, but... if you are low you will need to add power and if you are high you will need to reduce power... remember...you are now operating near the region of reverse command where you should power for altitude and pitch for airspeed. If the airplane is not stabilized on approximately a 3 degree glide slope by 200 feet above the runway then a go around should be performed. To recap phase one, you want the plane in a stabilized 3 degree glide slope descent so it will fly itself all the way down to the aiming points (the big fat rectangles) which is where phase two begins.
PHASE TWO:
The round-out is the second phase of a landing. Every aircraft has it's own round-out altitude. For a Cessna 172 you should transition from a stabilized nose low descent, which was established in phase one, to the round-out at approximately 25-40 feet above the runway. The round-out is basically like the bottom of a playground slide. It's the curve at the bottom of a slide. If you look at the profile of a slide you will notice that the bottom curve does not go up at the end, nor does it go down... it goes horizontal. So when you are performing your round-out, transition from a nose low attitude to a nose level attitude (horizontal). In a Cessna 172 I begin the round-out at about 25-40 feet above the runway. Once the nose of my plane is level, I allow the plane's altitude to continue to decrease to approximately 1-5 feet... and no lower. Remember... even though the plane's flight attitude is level at 20-30 feet above the runway, this absolutely does not mean the flight path is level... the plane is still descending... just not as fast as it was in phase one. If you try to hold 25-40 feet of altitude you will end up shedding all your airspeed and eventually you could stall the plane at that height which is definitely NOT WHAT YOU WANT TO DO. Phase one's descent rate should be close to 500 feet per minute and phase two's descent rate is more like 150 feet per minute. During this 2nd phase is also when the power should begin to be slowly and smoothly reduced . About one second after the round-out begins, start to slowly reduce some of the power. So... To recap phase two... At approximately 25-40 feet above the runway, slowly and smoothly begin to level the nose of the plane but continue to let the plane smoothly descend from 25-40 feet down to 1-5 feet of altitude while slowly and smoothly reducing power.
PHASE THREE:
The flare is the final phase of a landing and is undoubtedly the most difficult to master. If the round-out began at 25-40 feet and ended with the plane at 1-5 feet above the runway with the power just above idle, the flare is what settles the plane down on the runway with a nose high attitude. The flare is basically the pilot trying to hold that 1-5 feet of altitude as long as possible with practically no power and an airspeed that is constantly decreasing. As the airspeed decreases, you will need to apply more back pressure on the yoke to maintain 1-5 feet of altitude. The trick is to not loose any altitude and just as importantly, not gain any altitude. If you gain altitude the plane will "balloon" and this will usually require promptly adding power and often will require you to abort the landing and go around. If you loose altitude too quickly you will have a less than smooth landing. So...as you are maintaining 1-5 feet of altitude with the airspeed decreasing you will have to carefully apply more back pressure on the yoke. This combination causes the plane's nose to eventually rise. As the airspeed finally decreases to the point where the wings can no longer generate any lift, the power should now be reduced to idle as the plane slowly descends from 1-3 feet above the runway down to the runway surface where the main wheels should gently touch down with the nose wheel still in a nose high attitude. Continue to carefully pull back on the yoke just enough to keep that nose wheel off the ground, but not so much as to pop the plane back into the air. Keep pulling back on the yoke until the yoke can no longer be pulled back any further. Once the yoke is fully aft, then the nose wheel will eventually make contact with the runway surface.
Videos were posted on YouTube by: undaerocast
Subscribe to:
Post Comments (Atom)


No comments:
Post a Comment