There are different kinds of knots one can tie, but I have chosen to illustrate the two most commonly used, the bowline and the double locking half hitch.
Obviously the type of lines available at different tiedown spots are varied but chains offer the best security followed by nylon rope with at least 3000-pound breaking strength (1/2″ diameter) for singles and 4000-pound breaking strength for light twins.

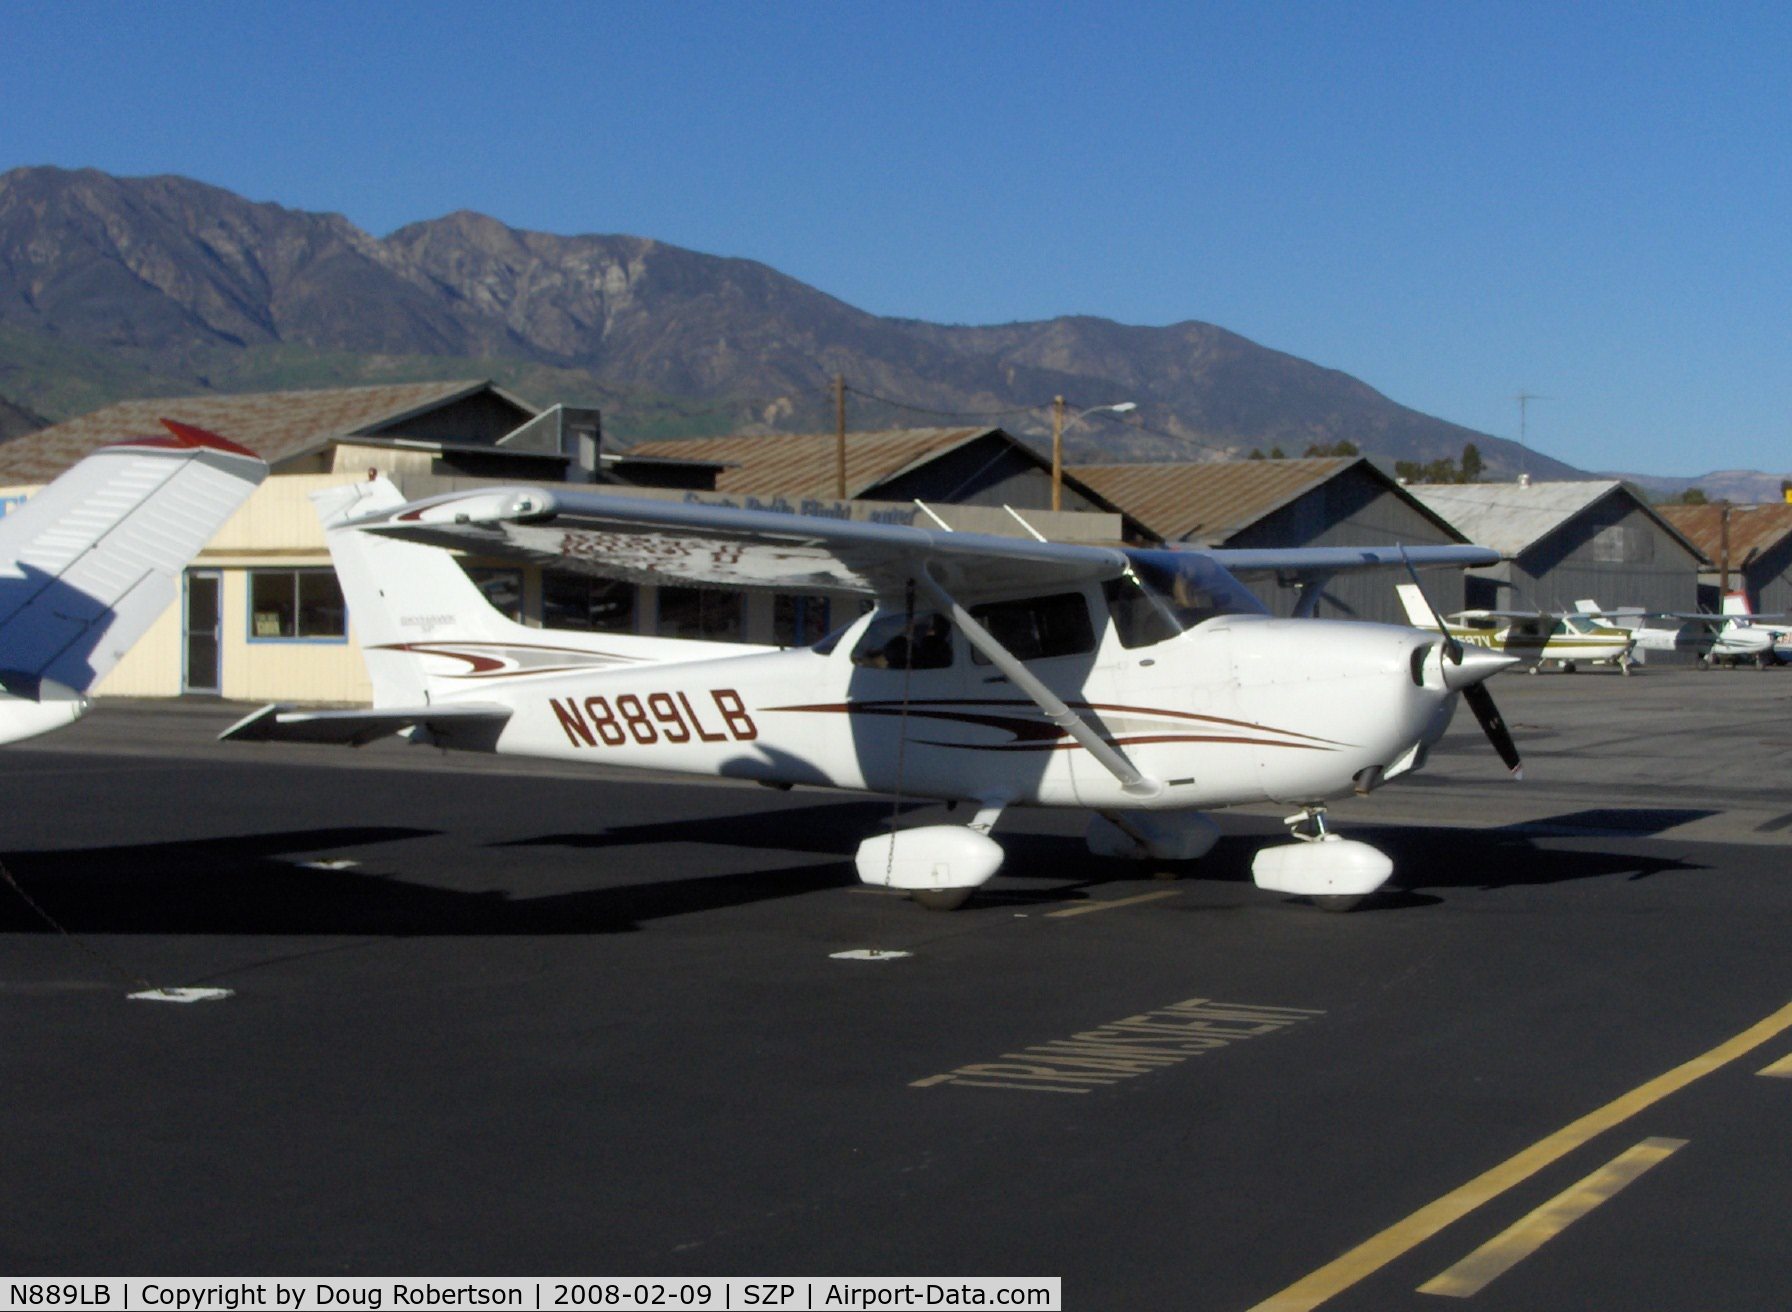
It is important to never tie the lines directly to the struts but instead use the tie down rings provided. Ropes can easily slip to a point where even slight side pressures can damage them. Allow for about an inch of movement “play” when the lines are tightened but be careful not to overtighten as this could exert inverted flight stresses on the aircraft.
The tiedown lines should also be angled forward from the wings to the anchor spot and aft from the tail to the anchor spot. This will give the best protection and security to hold down the aircraft.
• Run the line through the tiedown ring from the back of the airplane to the front.
• Circle the line under, then over, the aft line, then through and behind the loop (front line) for the first half hitch.
• Repeat and circle the line again under the aft line, then over and in front of the just created half hitch, then through and behind the front line loop.
• Pull down to lock the first set of half hitches and then tie a second set 6-12″ lower to complete the tiedown knot.
Bowline- The animation at the left shows the bowline knot, it should be tied about six to twelve inches below the tiedown ring. Click the photo to play the animation.
• Run the line through the tiedown ring from the back of the airplane to the front.
• Create a loop on the aft line by twisting a section of rope backwards towards you so that the loop faces the front of the airplane and the aft line (running down to the ground) is behind the line (running up to the tiedown ring).
• Thread the line through and over the loop just created, then under the aft line, circle it back around and over the aft line.
• Finish the knot by threading the line back through the loop and pull it tight.
Don’t forget to set the brakes and install the gust locks if you intend to leave the aircraft for the night or extended period of time. Hopefully these knots will serve you well and if you would like more information about securing your aircraft take a look at the Federal Aviation Administration’s circular AC20-35C “Tiedown Sense”.
Click here to get the FAA Tiedown Sense advisory circular AC20-35C.


No comments:
Post a Comment