Ads 468x60px

  • First Lesson

    7/31/2010 was my first lesson. This is when i embarked on my new found love and hobby. I began to fly regularly after that first flight. I have found a new passion that was a childhood passion of mine!

  • Solo Time

    July 4th 2011 was my first solo. I flew at Oxnard Airport. All three landings were awesome, and increased my confidence more than i could ever explain. The first solo will stick with me for the rest of my life!!! It was a turning point in my hobby!

  • Still Learning, Striving, and Flying

    It has been a long journey, and an expensive on as well. But i stuck to it and keep flying as i am now so fascinated by it. I strive to learn more, and now i understand a pilots license is a license to learn!

Monday, February 27, 2012

Climbs, Descents, Turns, and Stalls


Air work, which entails slow flight, stalls, climbs, descents, and steep turns is the one thing all pilots have in common.  Pilots have had to learn and use air work techniques to successfully and safely fly airplanes.  Students learn proper techniques and will have to demonstrate those skills to earn their pilot certificate.  The flight review (FAR 61.56) requires a proper air work demonstration.  This is the most fundamental skill you as a pilot will ever learn.

Don't hit anything!


Before anything!!! A pilots FIRST obligation is to NOT HIT ANYTHING.  This means other traffic, terrain, and obstacles.  Terrain is important when your in mountainous areas, even if your flying well above 3,000 feet AGL.  This will require you to pay attention, make smart decisions, and to have situational awareness. Make sure to keep a constant scan of the practice area.  Even if your over flatter area, terrain is still of concern.  If your flying is done at 3,000 feet AGL, terrain avoidance is enhanced.


Terrain avoidance needs to of utmost priority during every aspect of flight, especially during practice flights when the flight instructor and student might be focused too much on the instruments inside the aircraft instead of on the traffic outside.  During portions of training, the flight instructor needs to show the student how to perform a maneuver, so at points both of the occupants, are focused inside the aircraft, which is a scary concept.


I have never experienced a near-miss but everyone who i have read who has, will never forget it they said.  The instructor must teach proper scan techniques and ingrain constant awareness in the students brain.  Performing clearing turns before every maneuver, divide attention between the instruments, horizon, and potential traffic, terrain, or obstacles.  This benefits both piloting techniques, and safety, as both the flight instructor and student will remain vigilant, as the student learns to integrate the visual piloting information while avoiding the trap of fixation on either. 
A clearing turn should initially be a full 360 degrees (any medium bank will do) while the student and instructor scan from ground to heaven. If you have passengers, brief them before the flight about looking for traffic. After the first maneuver you can switch to 90- to 180-degree turns. After you have done several maneuvers, another 360-degree turn is advised. If you are in a busy area or flying during a busy time of day or year (in the local practice area on a Sunday afternoon during the summer), full clearing turns will be required more often. Obviously if you see an aircraft in your immediate vicinity, keeping track of it takes priority over performing steep turns and stalls. Don't let aircraft in your vicinity become “lost.” If they get too close and you lose track of them, you have to find them again before it is safe to get back to work. You should also utilize radar flight following when it's available, even during training flights.

The fundamentals

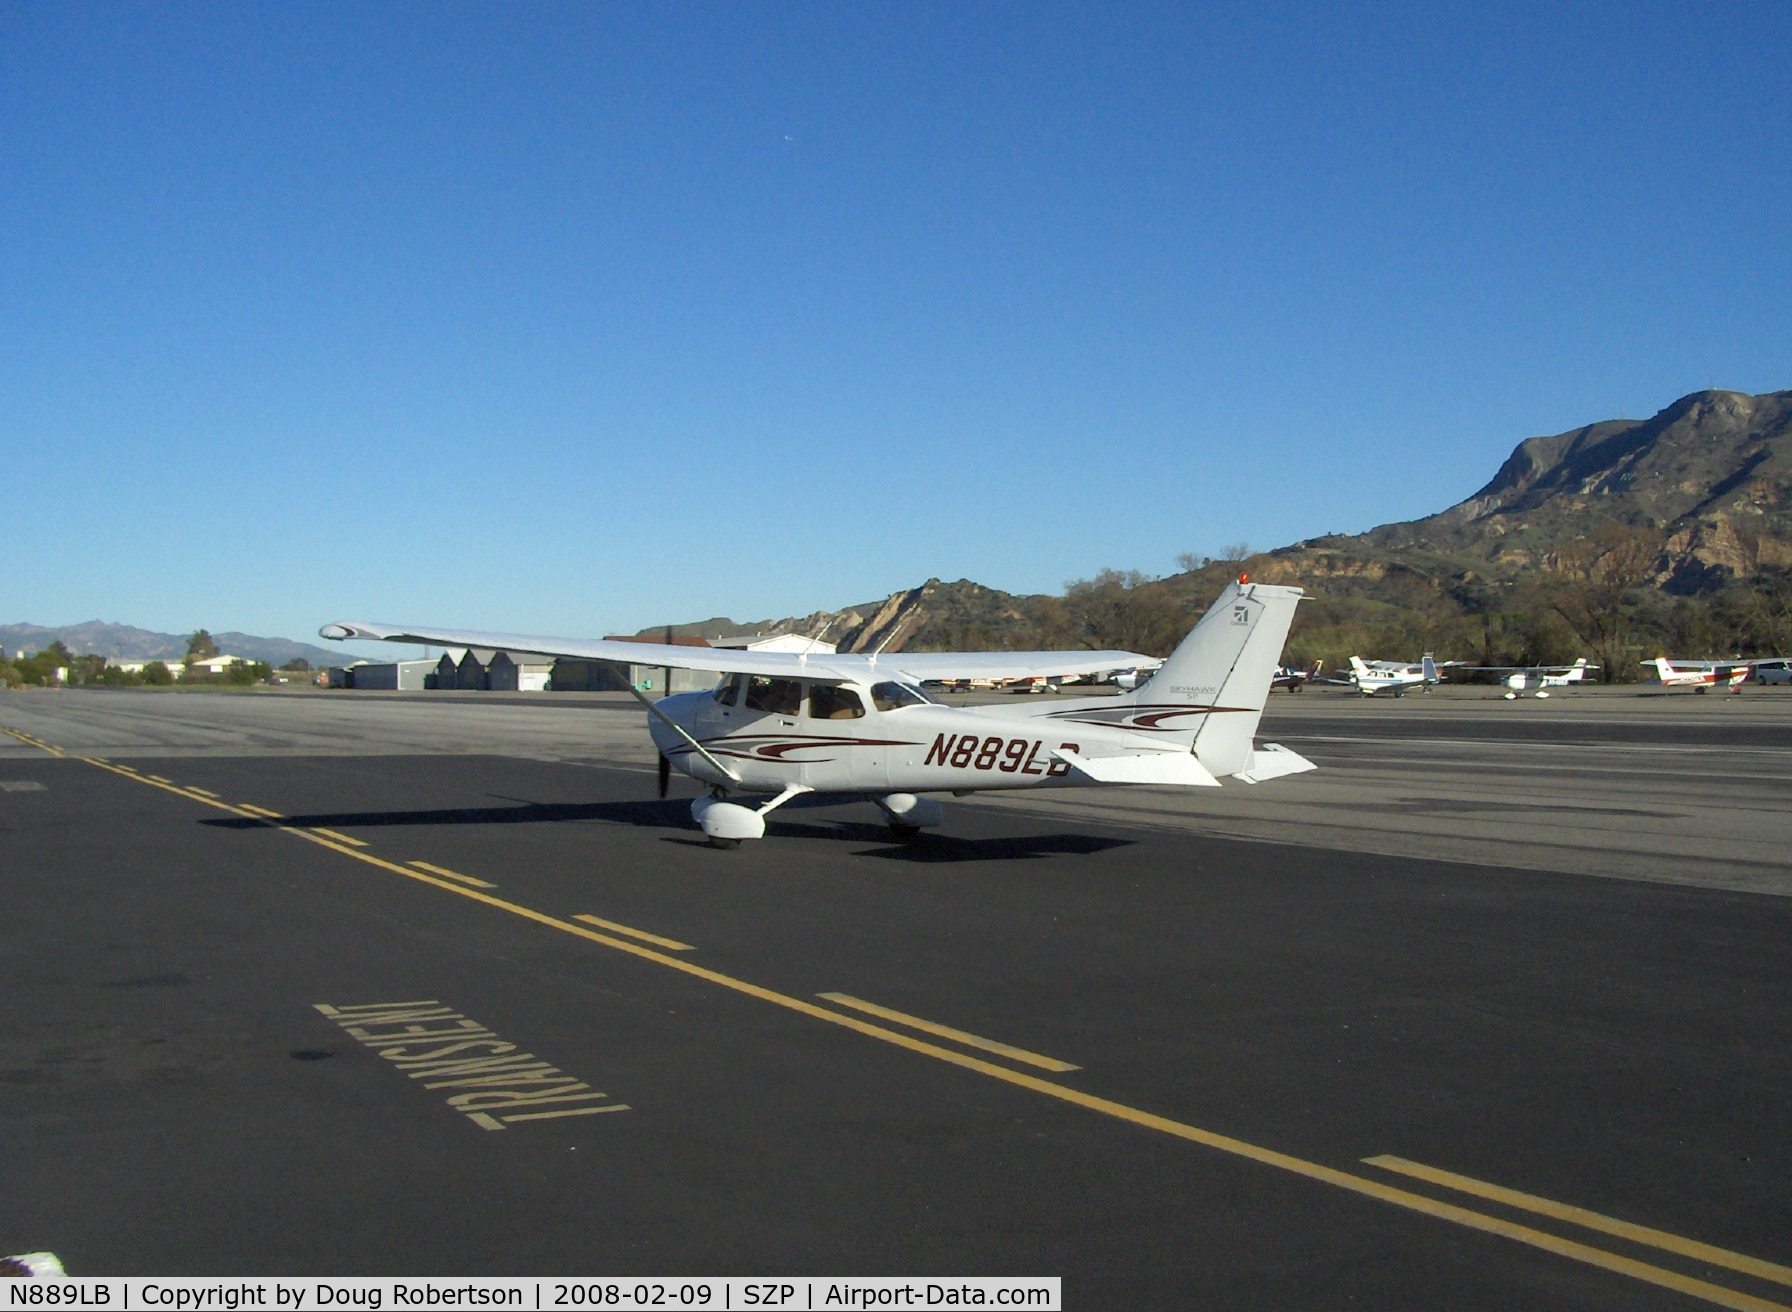
The maneuvers outlined here are described for a typically equipped Cessna 172, the most common general aviation training aircraft. Other types of training aircraft may require slightly different procedures (the green arc on the rpm gauge, use of carburetor heat and mixture, flaps, etc., differ from aircraft to aircraft, for example). In all flight training situations, however, certificated flight instructors, utilizing the pilot's operating handbook (POH) for the aircraft, safely teach the required maneuvers. Some procedures are universal such as the requirement to decrease the angle of attack after a stall, seeing and avoiding other traffic, and keeping the rudder coordinated (ball centered) during these maneuvers.
Strip away the airplane's size, type, and mission; get behind the controls; and they all do pretty much the same thing: climb, descend, turn, and fly straight and level. Every maneuver an airplane flies is either one of these or a combination of two or more of them.
Starting with the takeoff, pilots begin the first fundamental maneuver of flight: climbing. When climbing, the pilot has several options regarding the speed, rate, and pitch attitude at which the airplane ascends. Most pilots prefer a climb at a pitch attitude that affords safe forward vision. Simply put, while climbing at full power, don't pitch the nose up so far that your forward vision is hindered. This allows terrain and traffic awareness while ascending. Pilots may also need to climb at the airplane's best rate of climb (VY) or best angle of climb (VX). VY provides for the greatest vertical climb in the least amount of time (best for en-route climbs to higher altitudes), while VX affords the most vertical ascent over the least horizontal distance (best for climbs when terrain must be cleared). In any climb situation, particularly sustained climbs, the pilots should frequently dip the nose to check for traffic and terrain in the blind spot in front of and below the aircraft.
When practicing climbs from level flight, during flight training, or proficiency demonstrations, pilots should began, as in all air work exercises, by flying clearing turns for traffic/terrain awareness.

Steep turns

Steep turns are generally flown at 45-degree bank angles, in both directions, and to a specific heading. Your goal should be to roll out within 10 degrees of a predetermined heading and to maintain your altitude within 100 feet. When making steep turns slowly roll into the turn, and as you pass through 30 degrees of bank, begin to smoothly increase back elevator pressure to maintain your altitude. As the turn continues, increased elevator back pressure will be needed in order to maintain your altitude.
You must divide your attention between your flight instruments and the outside horizon to both maintain altitude and assure traffic and terrain clearance. Your primary instruments are altimeter, followed by your attitude indicator, airspeed indicator, and heading indicator. When you begin to roll out of the turn to your predetermined heading, lead the rollout by one-half the number of degrees of your bank angle. For example, in a 30-degree bank turn, begin to level the wings 15 degrees before you reach your desired heading (check the heading indicator). In a 45-degree turn lead the rollout to heading by 22 degrees. You will also have to lower the nose, as the back pressure required to maintain level flight during your turn will cause the airplane to climb once the turn has been completed.

Slow flight (minimum controllable airspeed)

Flying the airplane at airspeeds below VFE (maximum flap extension speed — top of the airspeed indicator's white arc), right down to stalling speeds (bottom of the airspeed indicator's white and green arcs), must be mastered in order to be fully in command, no matter what airspeed the situation mandates.
The slower the aircraft flies, however, the more difficult it is to control. As the airplane's airspeed is reduced, the pilot must maintain a balancing act between pitch, power, aileron, and rudder inputs, instrument interpretation, flap management, and maintaining a proper outside scan.
As the aircraft slows, it requires a higher pitch attitude to maintain altitude; the higher pitch attitude, in turn, will require right rudder inputs to stop the airplane from turning left of the required heading.
Minimum controllable airspeed is flying the airplane (fully within your control) on the verge of stalling. As with all air work proficiency practice, try to maintain airspeed within 10 knots, altitude within 100 feet, and heading within 10 degrees.

Stalls: full and imminent

The FAA requires training in full and imminent stall technique in both the landing and departure configurations. Rule number one in stall training is to keep the rudder pedals coordinated (ball in the center of the inclinometer) to avoid putting the aircraft into a spin. This is important in all stall training, but particularly during departure stalls because of the high engine power and torque and the very high pitch attitude, which requires greater-than-normal right rudder input. Anytime an imminent stall recovery is required, the pilot should begin the stall recovery at the first sign of stalling and avoid continuing the maneuver into a full stall. Employ the following guidelines when practicing stalls.
Always keep the rudder coordinated (step on ball). Recover from an imminent stall at the first sign of a stall.
As with all aviation endeavors there are several variables — among them, proper technique for the specific aircraft type, atmospheric conditions, and configuration (slow flight and stalls can be flown with and without flaps and turns, for example.
There are, however, several constants in aviation, such as the fact that stalling occurs when the airfoil's angle of attack exceeds its ability to produce lift, or the fact that the steeper the angle of bank the greater the increase in stall speed, as well as the decrease in lift. After the aircraft stalls the pilot must try to minimize altitude loss while maximizing airspeed, and by extension, aircraft control. Also, always remember to recover with throttle and rudder, as the airplane will rapidly turn left if the pilot quickly increases the throttle without appropriate rudder inputs.
Air work is at the heart of flying, a universal measure of piloting skills, and the fundamental element of piloting which will be required from the commencement of flight training in a Cessna 152 all the way through earning captain qualifications in a Boeing 777.

Climbs

  • Clearing turns: Perform to ensure traffic and terrain are not factors.
  • Mixture: Full rich (below 5,000 feet mean sea level), lean for best performance as aircraft ascends.
  • Throttle: Full power (with coordinated right rudder).
  • Pitch: For desired airspeed and/or rate of climb.
  • Trim: To relieve elevator input.

(P, P, T, M—Pitch, Power, Trim, Mixture)

  • Pitch: Lead level-off by 10 percent of the vertical velocity (e.g. 500 foot-per-minute rate of climb on the vertical speed indicator, begin leveling off 50 feet before your desired altitude). Hold altitude with pitch as the airspeed builds from climb speed to cruise speed (above the airspeed indicator's white arc).
  • Power: Reduce for cruise flight — above the airspeed indicator's white arc and within the rpm green arc.
  • Trim: For cruise flight.
  • Mixture: Lean for maximum fuel efficiency and performance (rpm drop or peak exhaust gas temperature plus 50 degrees).

Descents

When descending from level flight, you could simply lower the nose, but that results in excessive airspeed and propeller rpm. It is better to reduce power and pitch the aircraft's nose down (and trim if needed). For the desired airspeed and/or rate of decent, following these steps:
  • Clearing turns: Perform to ensure traffic and terrain are not factors.
  • Power: Reduce (if below rpm green arc — carb heat on).
  • Pitch: For desired airspeed and/or rate of decent.
  • Trim: For steady descent.

Transition to level flight (P, P, M, T—Pitch, Power, Trim, Mixture)

  • Pitch: Level simultaneously with adding power.
  • Power: Increase back to cruise setting. Lead pitch up by 10 percent of the vertical velocity (e.g. 1,000 feet per minute rate of descent on the vertical speed indicator, lead level-off by 100 feet above your target altitude).
  • Trim: For level cruise flight.
  • Mixture: Lean for maximum fuel efficiency and performance (rpm drop or peak exhaust gas temperature plus 50 degrees).

Steep turns

  • Perform clearing turns to assure traffic and terrain are not factors.
  • Set power at 2,100 to 2,300 rpm.
  • Left turn — slowly bank to 45 degrees with coordinated rudder (step on the ball).
  • Right turn — lead turn with right rudder then slowly bank to 45 degrees and coordinate rudder.
  • Spot bug on windshield and keep ball on attitude indicator just above white line.
  • Use pitch to maintain altitude as turn continues.
  • Lead rollout to heading by half the degree of the bank (e.g. 30-degree bank lead rollout 15 degrees); in a 45-degree bank lead rollout by 22 degrees (20 degrees works fine).
  • Pitch down for level flight.
  • Adjust throttle as needed.

Slow flight

  • Perform clearing turns to assure terrain and traffic are not factors.
  • Throttle: Slowly reduce.
  • Carburetor (carb) heat: On below green rpm arc.
  • Pitch: Slowly increase to maintain altitude.
  • Flaps: Slowly lower when in the airspeed indicator's white arc to maintain a lower pitch attitude.
  • Rudder: Maintain coordination (ball in the center)—right as nose pitches up.
  • Ailerons: Maintain heading.
  • Throttle: Maintains altitude (not pitch anymore).
  • Elevator: Maintains airspeed.

Recovery

  • Full throttle and coordinated right rudder, pitch to maintain altitude.
  • Carb heat: Off.
  • Flaps: Retract 10 degrees at a time.
  • Altitude: Maintain with pitch.
  • Airspeed: Cruise (above the airspeed indicator's white arc).
  • Power: Set for cruise.
  • Trim: Set for cruise.

Minimum controllable airspeed

  • Perform clearing turns.
  • Carb heat: On below green rpm arc.
  • Throttle: Slowly reduce.
  • Altitude: Maintain with pitch.
  • Airspeed: Reduce to white arc.
  • Flaps: Slowly lower to full.
  • Airspeed: Pitch to bottom of airspeed indicator white arc.
  • Hold airplane just above stall (at stall warning).

Recovery

  • Full throttle and coordinated right rudder, pitch to maintain altitude.
  • Carb heat: Off.
  • Flaps: Retract 10 degrees at a time.
  • Altitude: Maintain with pitch.
  • Airspeed: Set for cruise.
  • Trim: Set for cruise.

Departure (power-on) stall

  • Perform clearing turns.
  • Throttle: Reduce slowly.
  • Carb heat: On.
  • Slowly pitch the aircraft's nose up to rotation speed.
  • Ease in carb heat and throttle to full.
  • Increase pitch, with coordinated rudder, to stall.

Recovery

  • Pitch: Decrease.
  • Rudder: Maintain directional control.
  • Pitch: To cruise.
  • Trim: Set for cruise.

Approach to landing (power-off) stall

  • Perform clearing turns.
  • Throttle: Reduce slowly.
  • Carb heat: On.
  • Altitude: Maintain with pitch.
  • Airspeed: Pitch to white arc.
  • Flaps and bank: As desired (these are optional configurations).
  • Pitch: Increase until stall occurs.

Recovery

  • Pitch: Decrease.
  • Throttle: Full (with appropriate amount of right rudder).
  • Carb heat: Off.
  • Airspeed: VX initially, then to cruise.
  • Flaps: Retract in 10-degree increments.
  • Pitch: Level off.
  • Power: Level flight.
  • Trim: Level flight.

Accelerated stall

  • Perform clearing turns.
  • Carb heat: On.
  • Throttle: 1,500 rpm.
  • Altitude: Maintain with pitch.
  • Airspeed: Below VA (maneuvering speed).
  • Throttle: 2,000 rpm.
  • Carb heat: Off.
  • Pitch: Increase to normal climb.
  • Bank: 45 degrees until stall.

Recovery

  • Pitch: Decrease.
  • Bank: Wings level.
  • Throttle: Full power.
  • Airspeed: VX.
  • Pitch: Increase to VX.
  • Vertical speed indicator: Positive rate of climb.
  • Pitch: Level off.
  • Trim: level flight.

Sunday, February 26, 2012

Light Gun Signals

Do you know the light gun signals that are used in case of a radio failure or if your aircraft is not equipped with a radio? Air Traffic Control (ATC) will use a signal lamp to give you instructions and clearance limits. The light gun has a focused bright beam and is capable of emitting three different colors: red, white and green. You have to look closely but they are visible from a surprising distance away. These colors may be flashed or steady, and have different meanings to aircraft depending if you are in flight or on the ground. Pilots can acknowledge the instructions by “rocking” their wings, moving the ailerons if on the ground, or by flashing their landing or navigation lights during hours of darkness. Here’s a quick refresher to the signals used:

Flashing Green on the Ground: 
Cleared to Taxi


 Flashing Green in the Air: 
Cleared to approach, or return to land


Steady Green on the Ground:    
Cleared for Takeoff                                               


Steady Green in the Air:
Cleared to Land


Steady Red on the Ground:  
Stop                                             


Steady Red in the Air:
Continue to circle, give way to other traffic


Flashing Red on the Ground:   
Immediately taxi clear of runway in use                                                        


Flashing Red in the Air:
Airport unsafe, DO NOT LAND


Alternating Red/Green on the ground:  
Exercise Extreme Caution                                        


Alternating Red/Green in the Air:
Exercise Extreme Caution


Flashing White on the Ground:   
Return to starting point                                             


There is no flashing white in the Air: 

Securing Your Airplane

Did you ever arrive at your destination airport and discover that you really don’t know how to properly tie down the airplane? If so, take a look at these easy to tie knots and with a little practice you will be ready the next time you tie your airplane down.


There are different kinds of knots one can tie, but I have chosen to illustrate the two most commonly used, the bowline and the double locking half hitch.
Obviously the type of lines available at different tiedown spots are varied but chains offer the best security followed by nylon rope with at least 3000-pound breaking strength (1/2″ diameter) for singles and 4000-pound breaking strength for light twins.


It is important to never tie the lines directly to the struts but instead use the tie down rings provided. Ropes can easily slip to a point where even slight side pressures can damage them. Allow for about an inch of movement “play” when the lines are tightened but be careful not to overtighten as this could exert inverted flight stresses on the aircraft.
The tiedown lines should also be angled forward from the wings to the anchor spot and aft from the tail to the anchor spot. This will give the best protection and security to hold down the aircraft.

Double Locking Half Hitch- The animation at the left shows the first set of half hitches being tied, a second set (identical to the first) should be tied about six inches to one foot below the first to complete the knot.  Click the photo to play the animation.


• Run the line through the tiedown ring from the back of the airplane to the front.
• Circle the line under, then over, the aft line, then through and behind the loop (front line) for the first half hitch.
• Repeat and circle the line again under the aft line, then over and in front of the just created half hitch, then through and behind the front line loop.
• Pull down to lock the first set of half hitches and then tie a second set 6-12″ lower to complete the tiedown knot.


Bowline- The animation at the left shows the bowline knot, it should be tied about six to twelve inches below the tiedown ring.  Click the photo to play the animation.


• Run the line through the tiedown ring from the back of the airplane to the front.
• Create a loop on the aft line by twisting a section of rope backwards towards you so that the loop faces the front of the airplane and the aft line (running down to the ground) is behind the line (running up to the tiedown ring).
• Thread the line through and over the loop just created, then under the aft line, circle it back around and over the aft line.
• Finish the knot by threading the line back through the loop and pull it tight.
Don’t forget to set the brakes and install the gust locks if you intend to leave the aircraft for the night or extended period of time. Hopefully these knots will serve you well and if you would like more information about securing your aircraft take a look at the Federal Aviation Administration’s circular AC20-35C “Tiedown Sense”.
Click here to get the FAA Tiedown Sense advisory circular AC20-35C.

Sunday, February 12, 2012

S Turns

It should be as easy as crossing the street right?

Learning to fly may be fun and exciting, but the process is anything but. That compounds when it comes to flying ground reference maneuvers. Most of the most common problems stems from the fact that we must divide our attention between multiple tasks as we constantly make adjustments to keep the aircraft on the right ground track. A few have virtually no problems, but most find it both a challenge and a struggle.
Ground reference maneuvers are both important and necessary. The skills you learn from are necessary in many portions of flight, but most importantly in your landings. And come on, after all, landing is the ultimate ground reference maneuver, requiring precision, rapid corrections, and smooth coordination of the flight controls.


When i was learning, besides landings, the second most difficult ground reference maneuver was S-turns.  During this maneuver, we fly a series of CONSTANT-RADIUS S-turns along a reference line.  The problem that i encountered was mastering the proper entry, and did not fully understand to connection between bank angles, and wind drift.  Once i started to understand how one effects the other, i was able to learn to fly this maneuver without any trouble.

How we enter

Before we do anything, we have to get ready.  Checklist, Configure the aircraft, Proper altitude, Clearing Turns.  Remember clearing turns.  You want to ENSURE the area is clear of traffic.  Doesn't hurt to be on flight following when doing maneuvers.  We need to enter this on the downwind, just like any ground reference maneuver; landing, turns around a point, turns around a rectangle (Landing Pattern?)  If we don't enter this maneuver on the downwind, it will definitely cause a flux of problems with the maneuver.

Are you wondering why we need to enter this on the downwind?  It allows us to establish the proper maximum bank.  But the problem is we need to know where the wind is coming from, to enter on the downwind.

Most common misconception

That doesn't mean if we enter on the downwind, we have nothing to worry about.  If we don't understand the maneuver we will continue to have problems.  Those problems are when to increase and decrease the bank angle to keep on our CONSTANT-RADIUS, and keep us where we NEED to be.


It makes sense that when flying crosswind on the downwind side of the road, the wind is blowing us away from the road, and that we would need the greatest bank angle to get us back to the road.  It also makes sense that when flying crosswind on the upwind side of the road, the wind is blowing us towards the road, and a steep bank angle would help us complete that portion of the turn more quickly.  The simple fact is that flying the S-turns by this logic will cause us to fail each time.

How do we do it?

To succeed in this we MUST understand the relationship between rate of turn, bank angle, and ground speed.  To understand S-turns, we will talk about a less-complex maneuver; turns about a point.  The point of this is to fly a CONSTANT-RADIUS, CONSTANT-ALTITUDE turn around a reference point somewhere on the ground.


I have a fast car, so this is how i think of it.  Imagine a race car going around a circular track that is two miles in circumference.  If this race car is going 60 mph, the car will complete a lap around the entire track in two minutes.  Since the car completes a entire lap in two minutes, the rate of turn for the car is 360 degrees every two minutes, or 3 degree per second.  Now lets take that same race car, on the same track, and punch the throttle, till we get up to 120 mph.  Now we are really moving.  This car can complete a lap in 60 seconds.  Our rate of turn would be 360 degree per 60 seconds, or 6 degrees per second.  Now the rate of turn required to complete a full lap over the ground depends on speed.  The faster the speed, the greater the rate of turn.
So lets take that same race track, and fly over it.  (Not while spectators are there.  They might get a little scared.) Lets fly over it at between 600 and 1,000 feet AGL.  If we were flying at exactly 60 mph on a perfectly calm morning, we would need a rate of turn of 3 degree per second which is a standard rate turn according to the turn and slip indicator, to stay over the track.  If we increase our speed to 120 mph, we would then need to keep a rate of turn of 6 degree per second to stay over the track.  Remember from above, increasing the speed to 120 mph requires a rate of turn of 6 degree per second.  But remember when selecting your airspeed, remember to not exceed Va (Maneuvering speed). For your check ride as well as your practice, keep within PTS standards, which is +/- 10 kts.


The angle of bank we use controls our rate of turn.  The steeper the angle of bank, the greater rate of turn is achieved.  Now remember from above, the rate of turn depends on our speed.  And remember the bank angle controls our rate of turn.  The faster we fly, a greater bank angle is required to keep the same rate of turn.  The bank angle should NEVER exceed 45 degree.  


When we fly we usually never get a calm no wind day.  So lets spice this up a bit.  It's a windy afternoon.  We are flying over the same race track.  Our ground speed is going to change constantly because of the wind.  So we would in turn have to change our rate of turn, to keep over the track.  We change our rate of turn by using the bank angle.  As the ground speed increases, we will be forced to increase our bank angle.  As the ground speed decreases, we will be forced to decrease our bank angle.  Our ground speed will be the most when we are ...  Anyone?  Anyone?  downwind.  That is the point when the bank angle needs to be the greatest.  That is why we start this on the downwind.  We roll into our turn when abeam the reference point, and now we know each of the remaining point in the turn, our bank angle will be less that it was when we started.  When the nose is pointed into the wind, ground speed is low, and the bank angle is the least.


S-turns can be through of as a series of turns about a point, but simply split in half roughly upwind and downwind, then linked together end to end.  Again we enter downwind and establish our maximum bank angle as the reference point (the road) passes beneath the wing.  The bank angle will decrease to a minimum when we recross the road headed upwind.  When we cross the road, we only for a second, roll the wings level, then establish the bank in the opposite direction.  The bank angle slowly increases as we complete the next 180 degrees of turn, reaching the maximum bank bangle as we cross the road.  Again, we roll the wings level just for a second, and then roll into our maximum bank in the opposite direction and continue doing this over and over.

Other problems

Too often we can be fooled into thinking we fly a lot better than we really do.  This can also be the case in S-turns.  In light or calm wind, flying S-turns will make you think it's easy, and your doing perfect.  But that is because you cant see your mistakes.  To make these mistakes evident, try to fly S-turns in a 10-15 knot wind, that is blowing virtually perpendicular to your reference line.  With this wind, you will need to make the proper corrections, and any mistakes will start to be visible as deviations in your ground track.  After all your trying to fly a CONSTANT-RADIUS turn.


Since flying S-turns can be likened to a series of turns about a point, we need to pick points along the way as we fly the maneuver.  If our points are too close, we will try to use excessive bank angles and rush the maneuver.  That would end up sloppy at best.  If our points are too far away, the turns will become too big and the banks too shallow.  In general, the reference points selected along the reference line should be separated by about 3/4th of a mile.  Add a little more distance if we are flying faster, and a little less if we are flying slower.


During the check ride, look out for diversion and distractions while flying this maneuver.  Some instructors will attempt to distract you by asking innocuous questions about features on the ground, or features of the airplane, or questions about the instruments, or engine. (Is it normal for the ammeter to read five amps?  Why is there more fuel in one of the tanks.  Whats the altimeter setting?).  Some may even simulate an engine failure during this, just to see you have a hold of the airplane, and the situation.  So bottom line is divide your attention, don't get distracted, and above all be prepared.  I even read of one instructor dropping his pencil and asking the pilot to help him grab it while they were performing this maneuver.  Expect the unexpected!

Tie it all in!

Those are the key elements.  As long as we remember those elements we will be able to gain control and keep flight under control and coordinated.  So lets review.  There is more to this maneuver than just keeping the correct ground track and altitude.  We must also maintain situational awareness as we fly.  This involves looking for traffic, monitoring the traffic, and being prepared for emergencies.  


TO begin we must know where the prevailing surface wind are coming from.  Next, we have to select a suitable ground reference that is a relatively straight line perpendicular to the wind.  This can be a road, river, shoreline, power lines, railroad tracks, or any other reference that is similar.  We start ourselves about a mile upwind of our reference, we then get the aircraft to the desired speed, and complete any checklist that we have.  Do out clearing turns to make sure the area is clear of traffic, and if we are not already at our altitude, descend or climb to the required altitude, most of the time 600 - 1,000 feet AGL.


When we are ready, we will head downwind straight for our road, river, or what ever reference we are using, and as we cross it at a 90 degree angle, we pick a point along the road to use as a reference for the first 180 degree turn.  We roll into our bank of 30-40 but never above 45 degree.  Watch the reference point as we slowly roll out the bank to maintain a constant radius from the reference point.


We would crosscheck our speed, altitude, bank angle, and occasionally the engine instruments.  Keep an eye out for traffic, as well as possible emergency landing sites, just incase something goes wrong.  


As we fully complete our first 180 degree upwind turn, we should have the minimum bank angle, and we should cross the reference line at a 90 degree angle.  Before we roll level across the reference line, we need to be sure to check again for traffic, and any obstructions in the direction in which we will be turning.


Once we cross the reference line at 90 degree we would momentarily level our wings, and pick our next reference point, as we roll into the next turn.  We would cross check our speed, altitude, and engine instruments, along with traffic, as we increase the bank slowly to maintain the CONSTANT-RADIUS from the reference point.  We should once again be in our max bank of 30-40 degree before we cross the reference line a second time.  As we cross the reference line again, we would roll the wings level momentarily, and pick our next point, and then roll into the maximum bank in the opposite direction.  


We continue to do this back and forth.  Sounds easy?  Maybe too easy?  Well, after some understanding of the principles behind all of this, and some practice, this should be as easy as crossing the street.